Exporting Workflow Event History to GCS
Prerequisites
Before configuring the Export sink, complete the following steps in Google Cloud.
- Create a GCS bucket and take note of its bucket name, for example, "test-export"
- Enable customer-managed encryption keys (CMEK) if you need additional security for your GCS bucket.
- Currently, only single region buckets are supported (choose "Region" option when creating the bucket in GCS, not "Multi-region" or "Same-region")
- The region of the bucket must be the same as the region of your Temporal Cloud Namespace.
- Record the GCP Project ID that owns the bucket.
- Create a service account in the same project that grants Temporal permission to write to your GCS bucket.
- Follow the instructions in the Temporal Cloud UI. There are two ways to set up this service account:
- Manual Setup:
- Input the service account ID, GCP project ID and GCS bucket name.
- Follow the instructions, manually set up a new service account.
- Automated Setup:
- Use the Terraform template to create the service account.
- Manual Setup:
Configure Workflow History Export
There are multiple ways to configure export: through the Temporal Cloud UI, the CLI, or terraform.
Temporal Cloud creates multiple intermediary service accounts for export operations primarily for security purposes. The system randomly selects from these accounts when writing to your storage sink, which provides several benefits:
- Security isolation: If one service account is compromised or needs to be decommissioned, other accounts remain available
- Load distribution: Prevents exclusively using a single account, reducing security risk
- Warm standby: Keeps multiple accounts active to avoid potential throttling when switching between accounts
- Reliability: Provides resilience against cloud provider account-level issues that could affect a single service account
This approach prioritizes security and availability, ensuring robust export operations even if individual service accounts encounter issues.
Using Temporal Cloud UI
The following steps guide you through setting up Workflow History Export using the Temporal Cloud UI.
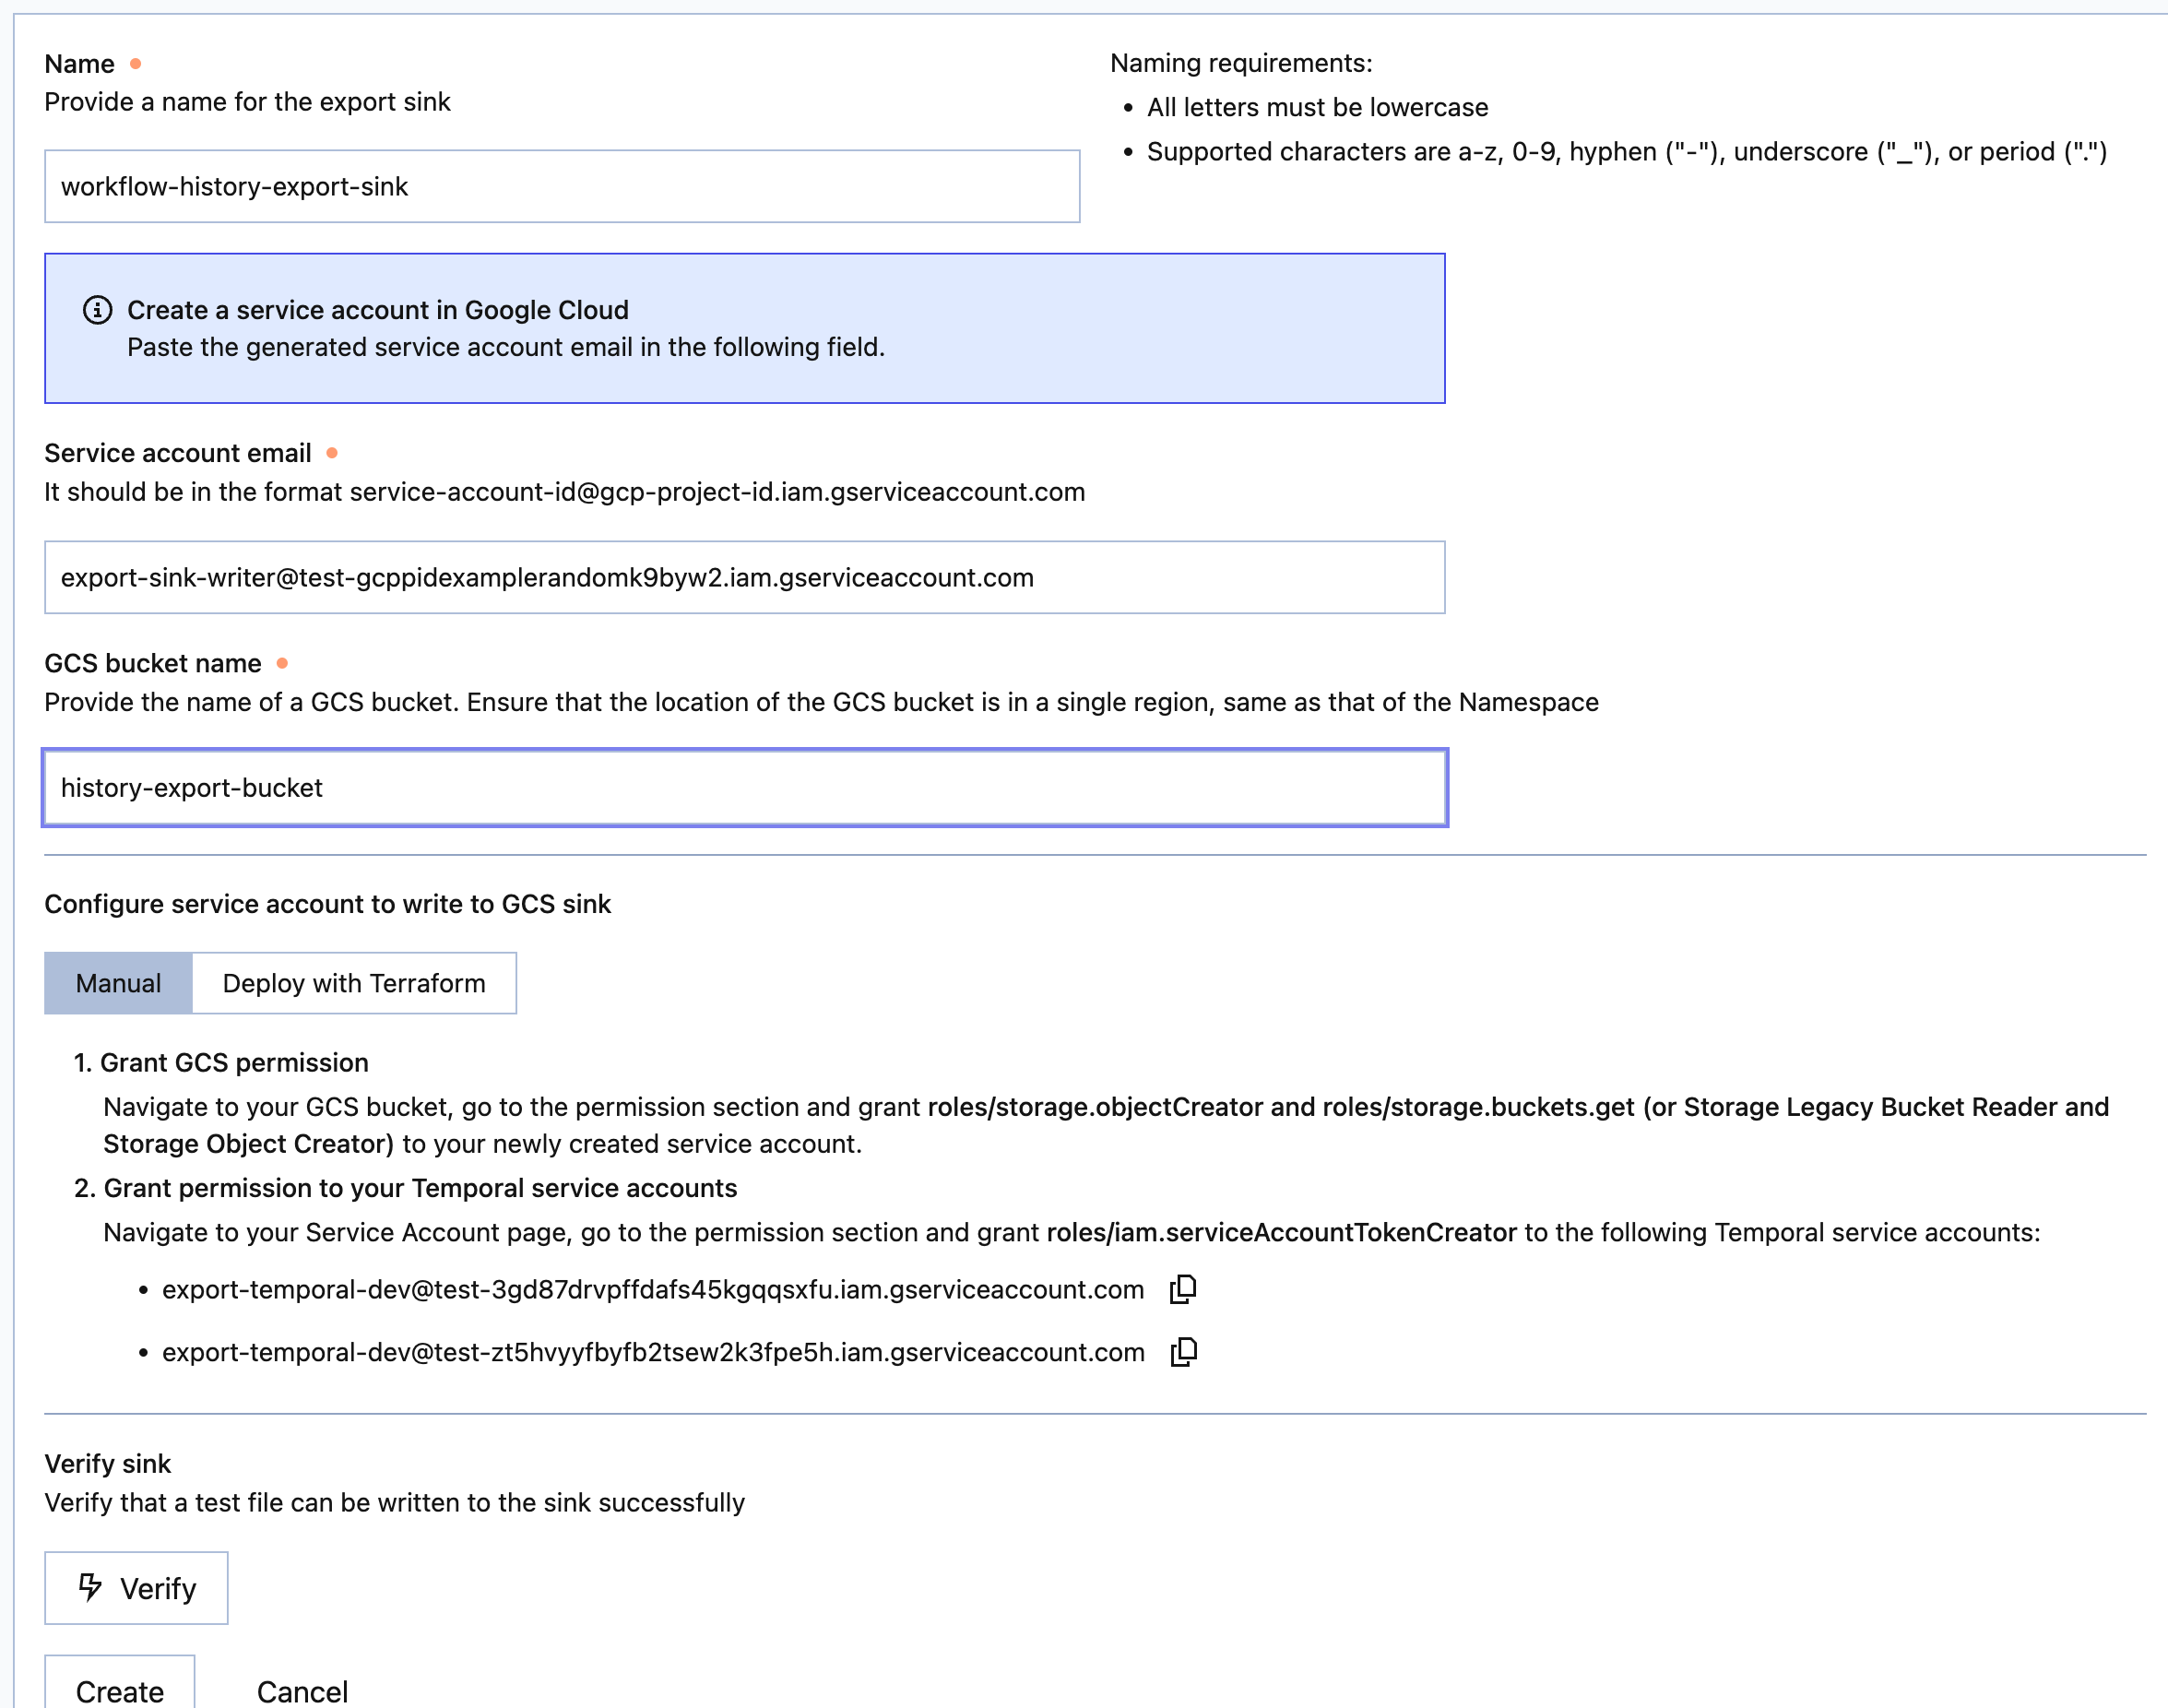
- In the Cloud UI, navigate to the Namespaces section. Confirm that the Export feature is visible and properly displayed.
- Configure the Export sink for a Namespace:
- Choose GCS as the sink type.
- Provide the following information:
- Name
- Service account ID
- GCP Project ID
- GCS bucket name
- After inputting the necessary values, click on Verify.
You should be able to write to the sink successfully.
If not, please fix any errors or reach out to support for help.
- If you just created the GCS bucket and granted permission for your service account, it may take some time for the permission to propagate. You may need to wait up to 5 minutes before clicking the Verify button to verify the connection.
- Clicking Create will complete the Export sink setup.
- The page will auto-refresh and you should see the status “Enabled” on the Export screen. You are now ready to export Workflow histories.
- You can toggle the enable button if you want to stop export and resume in the future. Note: when you re-enable the feature, it will start from the current point in time, and not from the time when you disabled export.
- You can also delete export by clicking Delete.
Don't forget to click Create at the end of your setup to confirm your export.
Using the CLI
- Temporal CLI
- tcld
-
Install the Temporal Cloud extension for the Temporal CLI.
-
Run the
temporal cloud namespace export gcs createcommand and provide the following information:--namespace: The Namespace to configure export for.--sink-name: The name of the export sink.--service-account-email: The service account that has access to the sink.--bucket-name: The name of the GCP GCS bucket.--region: The region the GCS bucket is in.
For example:
temporal cloud namespace export gcs create \--namespace test.ns \--sink-name test-sink \--service-account-email test-sink@test-export-sink.iam.gserviceaccount.com \--bucket-name test-export-validation \--region us-central1 -
Check the status of this command by either viewing the Namespace Export status in the Temporal Cloud UI or by retrieving the sink and looking for the state of "Active":
temporal cloud namespace export get --namespace test.ns --sink-name test-sink
To access export-related commands in tcld, please follow these steps:
-
Make sure your tcld version is v0.35.0 or above.
-
Run the command:
tcld n export gcs:NAME:tcld namespace export gcs - Manage GCS export sinkUSAGE:tcld namespace export gcs command [command options] [arguments...]COMMANDS:create, c Create export sinkupdate, u Update export sinkvalidate, v Validate export sinkget, g Get export sinkdelete, d Delete export sinklist, l List export sinkshelp, h Shows a list of commands or help for one commandOPTIONS:--help, -h show help -
Run the
tcld n export gcs createcommand and provide the following information:--namespace: The Namespace to configure export for.--sink-name: The name of the export sink.--service-account-email: The service account that has access to the sink.--gcs-bucket: The name of the GCP GCS bucket.
For example:
tcld n export gcs create -n test.ns --sink-name test-sink --service-account-email test-sink@test-export-sink.iam.gserviceaccount.com --gcs-bucket test-export-validation -
Check the status of this command by either viewing the Namespace Export status in the Temporal Cloud UI or using the following command and looking for the state of "Active":
tcld n export gcs g -n test.ns --sink-name test-sink
{
	"name": "test.ns",
	"resourceVersion": "b954de0c-c6ae-4dcc-90bd-3918b52c3f28",
	"state": "Active",
	"spec": {
		"name": "test-sink",
		"enabled": true,
		"destinationType": "Gcs",
		"s3Sink": null,
		"gcsSink": {
			"saId": "test-sink",
			"bucketName": "test-export-validation",
			"gcpProjectId": "test-export-sink",
		}
	},
	"health": "Ok",
	"errorMessage": "",
	"latestDataExportTime": "0001-01-01T00:00:00Z",
	"lastHealthCheckTime": "2024-01-23T06:40:02Z"
}
Using terraform
See the Terraform export support for setup instructions.